How to Embed the Report Designer to a React Application

Today, businesses need to quickly make and share reports to help them make decisions and work together better. The Bold Reports® Report Designer lets you create reports right in your app without switching between different tools, making your work easier. For designers or businesses using React, Bold Reports offers a simple way to embed reporting features to your existing app. You can make interactive reports that update in real time, so your team always has the latest information. This blog post will guide you through embedding a Report Designer in your React app using Bold Reports, discussing its benefits, prerequisites, and necessary steps for smooth implementation.
Benefits of embedding the Report Designer in your app
Embedding the Report’s Designer in your React app keeps reporting workflows in one place and your users fully engaged. Here’s how you benefit:
In-app interactive report creation: Drag-and-drop interface for building reports without external tools.
Easy React setup: The embedded Report Designer fits well with React’s design and tools.
Multiple data source support: Connect directly to SQL, JSON, REST APIs, and more.
Export flexibility: PDF, Excel, Word, and HTML formats available without leaving the app.
Connects to different types of data: You can pull in information from places like SQL databases, online files, or web services.
Easy sharing options: You can save and share your reports as PDF, Excel, Word, or even web pages—all without leaving the app.
Prerequisites
To begin using the Bold Reports’ Designer, you need to first ensure that your development environment is equipped with the following commands:
How to embed the Report Designer
Now, let’s look at the step-by-step guide on how you can embed Bold Reports’ Designer in a React application.
Step 1: Install the Create React application
To install the Create React app globally on your machine, run the following command in the Command Prompt.
npm install create-react-app -g
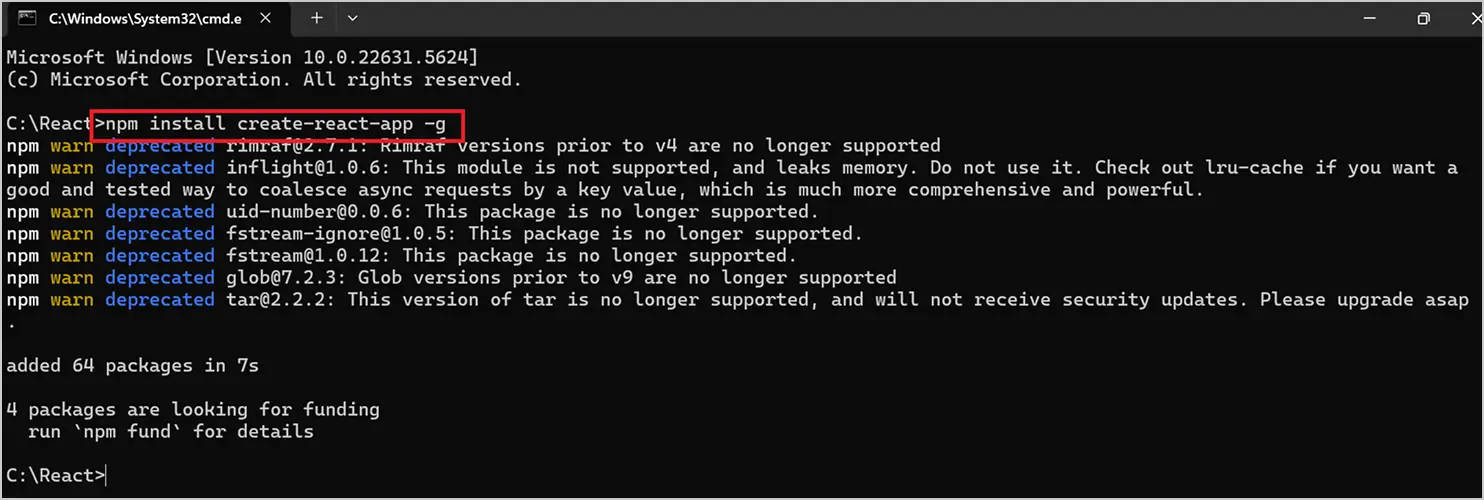
Install the Create React application
For more details, refer to this GitHub content.
Step 2: Create a new React application
Run the following command in the Command Prompt to create a new React application.
create-react-app reportdesigner
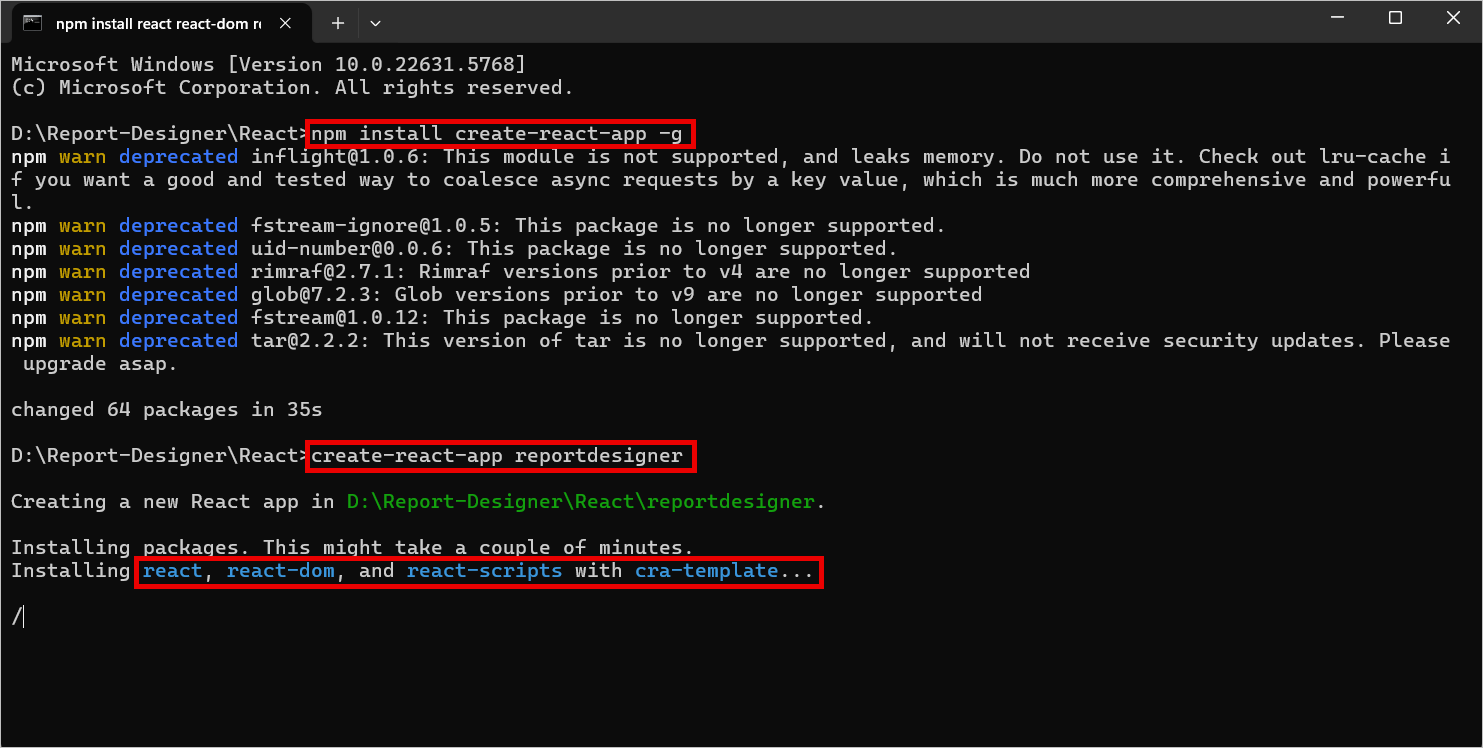
Create a new react application
The create-react-app command adds the react, react-dom, react-scripts, and other dependencies required for your React application.
Step 3: Install the Create React class
Change the directory to your application’s root folder to configure the Report Designer component.
cd reportdesigner
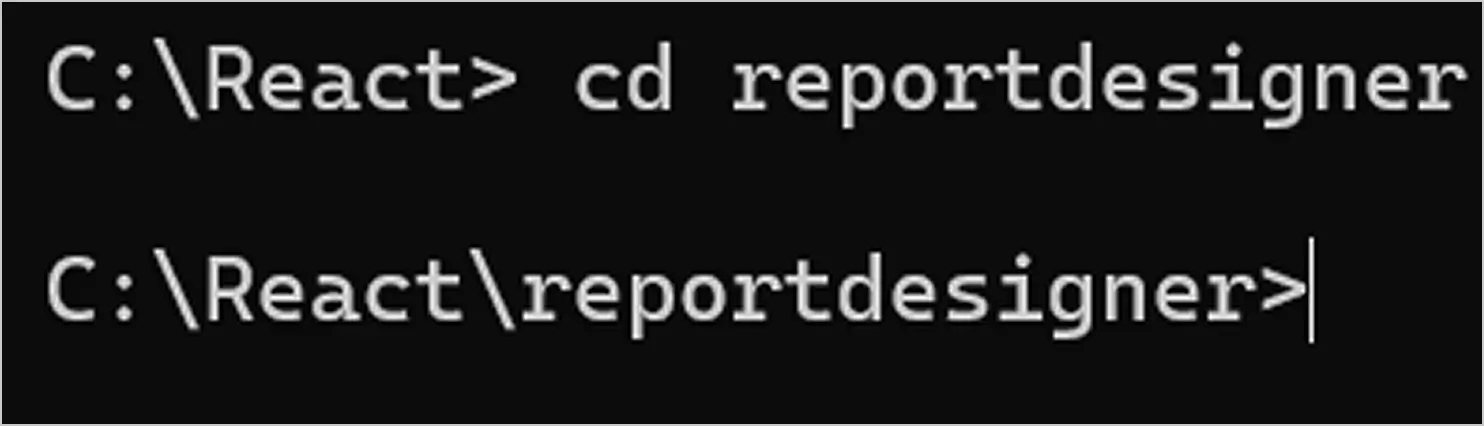
Report Designer component
To install the type definitions for create-react-class, run the below command in the Command Prompt.
npm install create-react-class --save
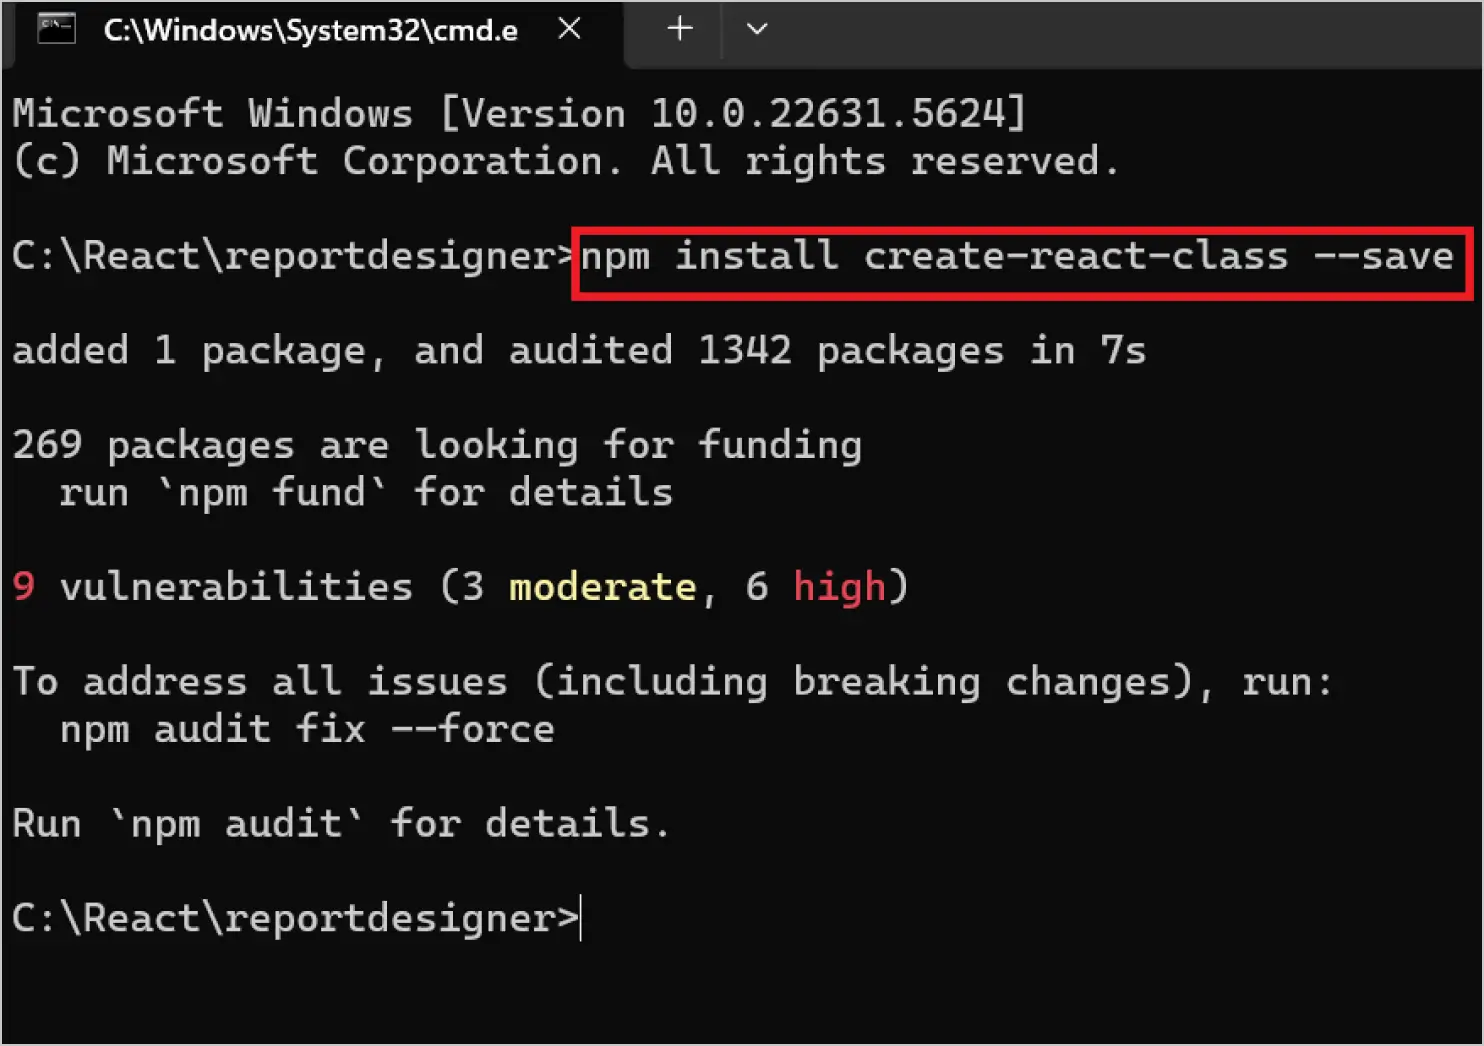
Install the create React class package
Step 4: Install the Bold Reports React package
Now, let’s install the Bold Reports React package. Run the following command in the Command Prompt.
npm install @boldreports/react-reporting-components --save-dev
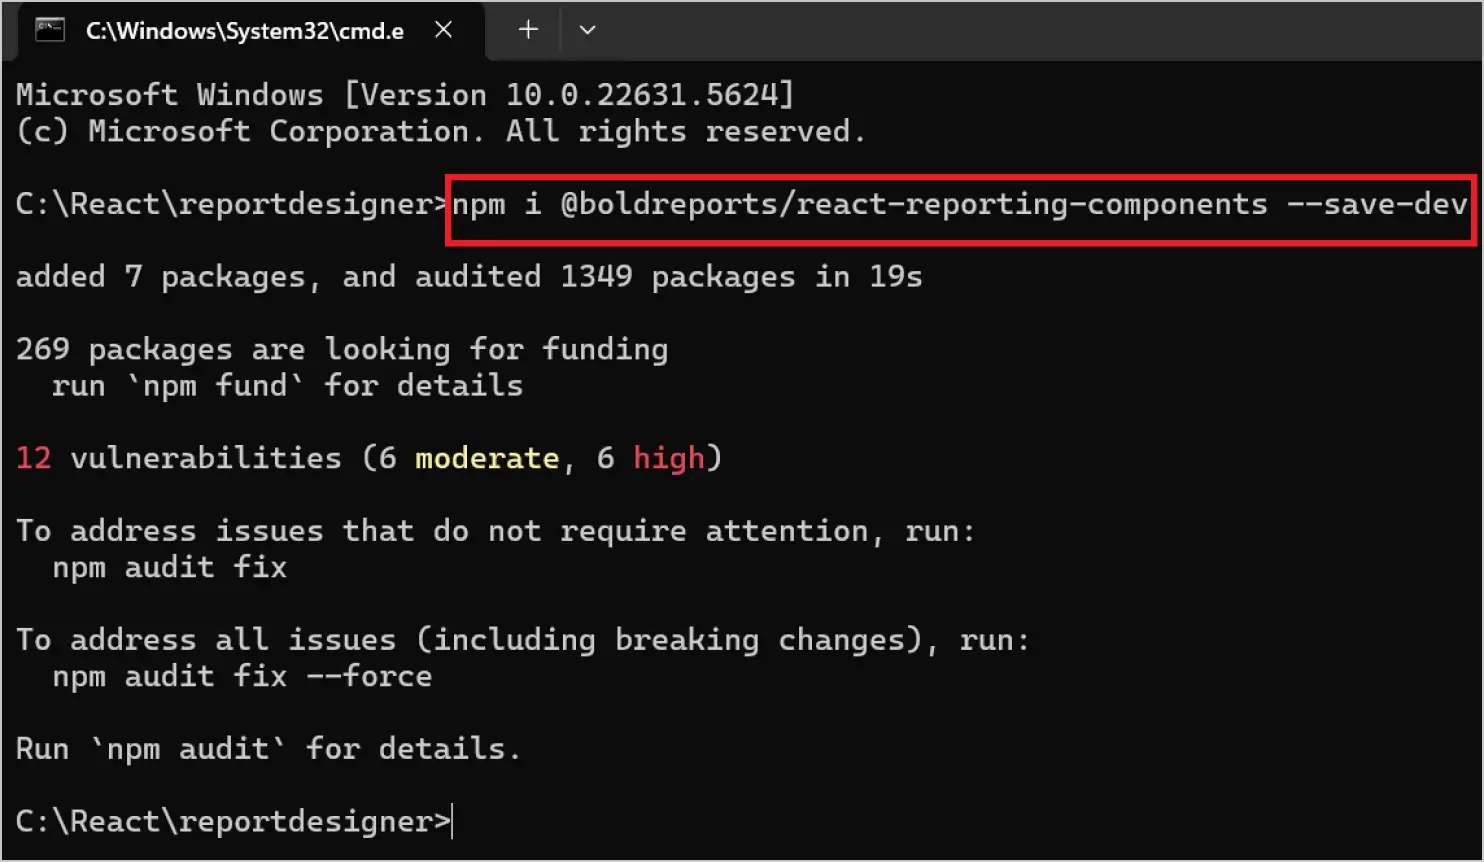
Installing the Bold Reports React package
Step 5: Add scripts reference
Bold Reports needs a window.jQuery object to render the React components. As shown in the below code snippet, create a globals.js file in the src folder and import jQuery into it.
import jquery from 'jquery';
import React from 'react';
import createReactClass from 'create-react-class';
import ReactDOM from 'react-dom';

window.React = React;
window.createReactClass = createReactClass;
window.ReactDOM = ReactDOM;
window.$ = window.jQuery = jquery;
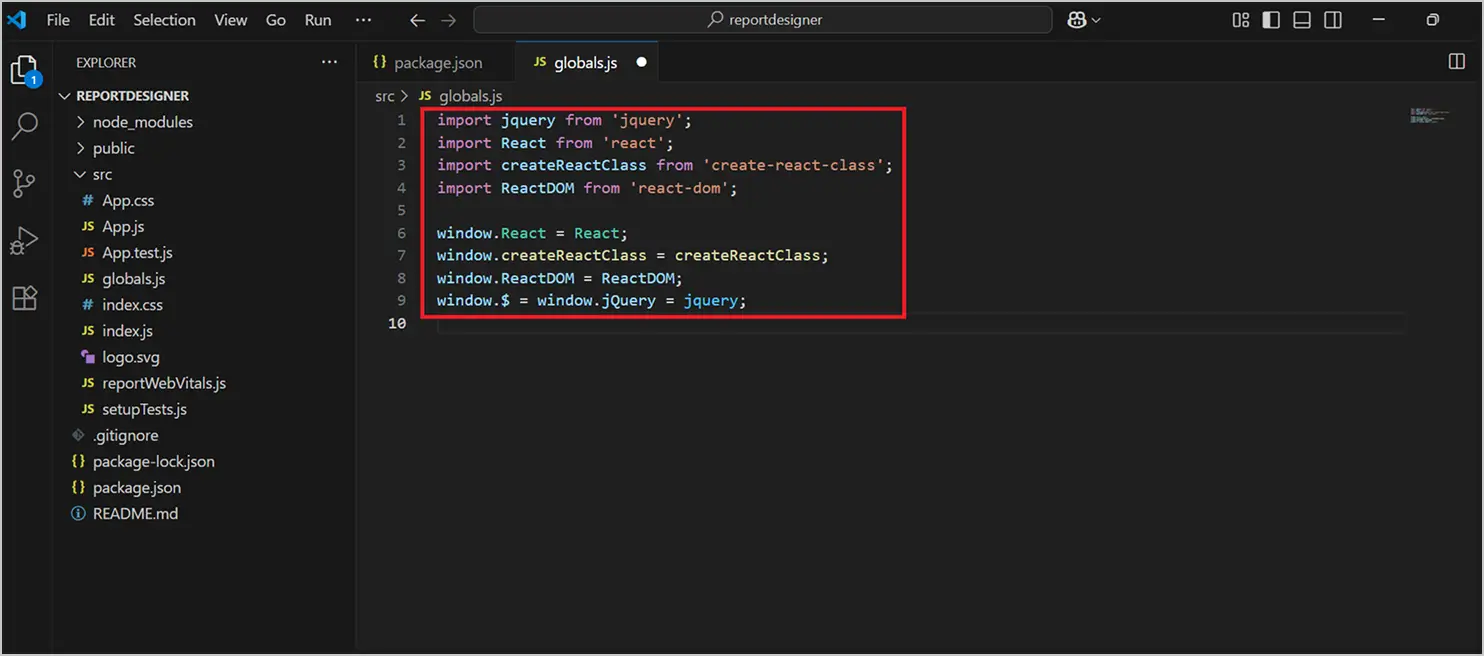
Add scripts reference
Reference the globals.js file in the index.js file, like in the following code snippet.
import './globals';

import React from 'react';

import ReactDOM from 'react-dom/client';

import './index.css';

import App from './App';

import reportWebVitals from './reportWebVitals';

const root = ReactDOM.createRoot(document.getElementById('root'));

root.render(

   <App />
);
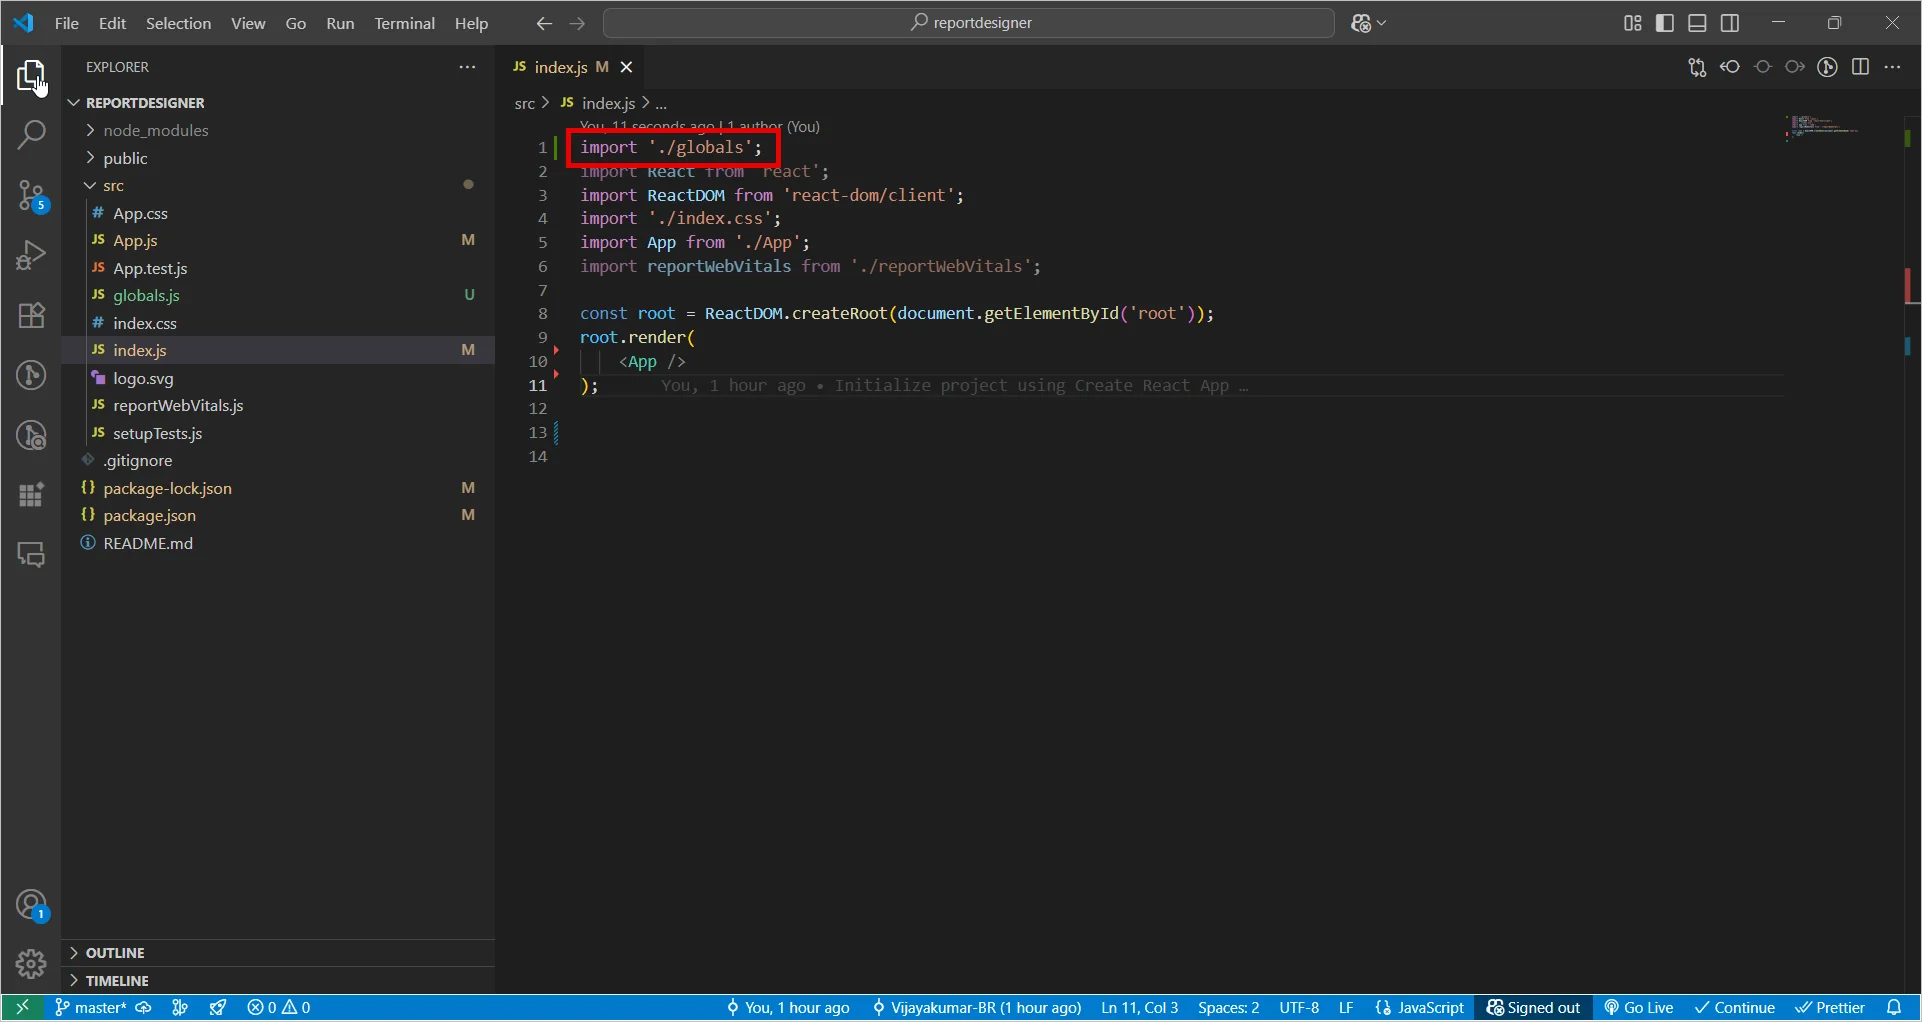
Importing globals’
Step 6: Configure the Report Designer component
Now, let’s add the Report Designer component. The Bold Reports’ Designer script and style files must be imported to run the web Reports’ Designer. Import the following files into the App.js file.
/* eslint-disable */
import React from 'react';
import './App.css';
//Report Designer component styles
import '@boldreports/javascript-reporting-controls/Content/v2.0/tailwind-light/bold.report-designer.min.css';
//Report Designer component dependent scripts
import '@boldreports/javascript-reporting-controls/Scripts/v2.0/common/bold.reports.common.min';
import '@boldreports/javascript-reporting-controls/Scripts/v2.0/common/bold.reports.widgets.min';
//Report Viewer and Designer component scripts
import '@boldreports/javascript-reporting-controls/Scripts/v2.0/bold.report-viewer.min';
import '@boldreports/javascript-reporting-controls/Scripts/v2.0/bold.report-designer.min';
//Reports react base
import '@boldreports/react-reporting-components/Scripts/bold.reports.react.min';

var designerStyle = {
'height': '700px',
'width': '100%'
};

function App() {
return (
<div style={designerStyle}>
<BoldReportDesignerComponent
id="reportdesigner_container">
</BoldReportDesignerComponent>
</div>
);
}

export default App;
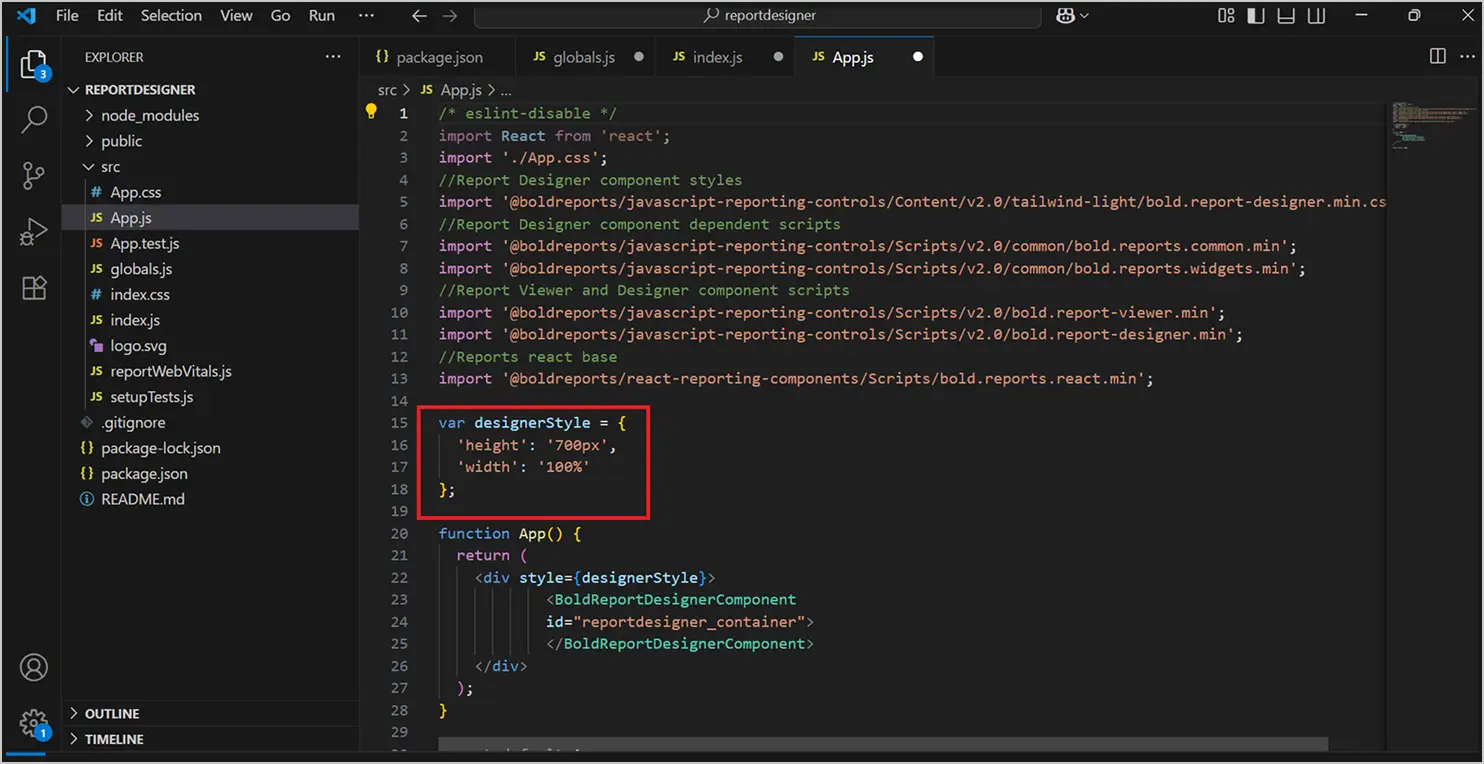
Importing designerStyle into the App.js file
The highlighted designerStyle is an object used to store the width and height of the Report Designer control.
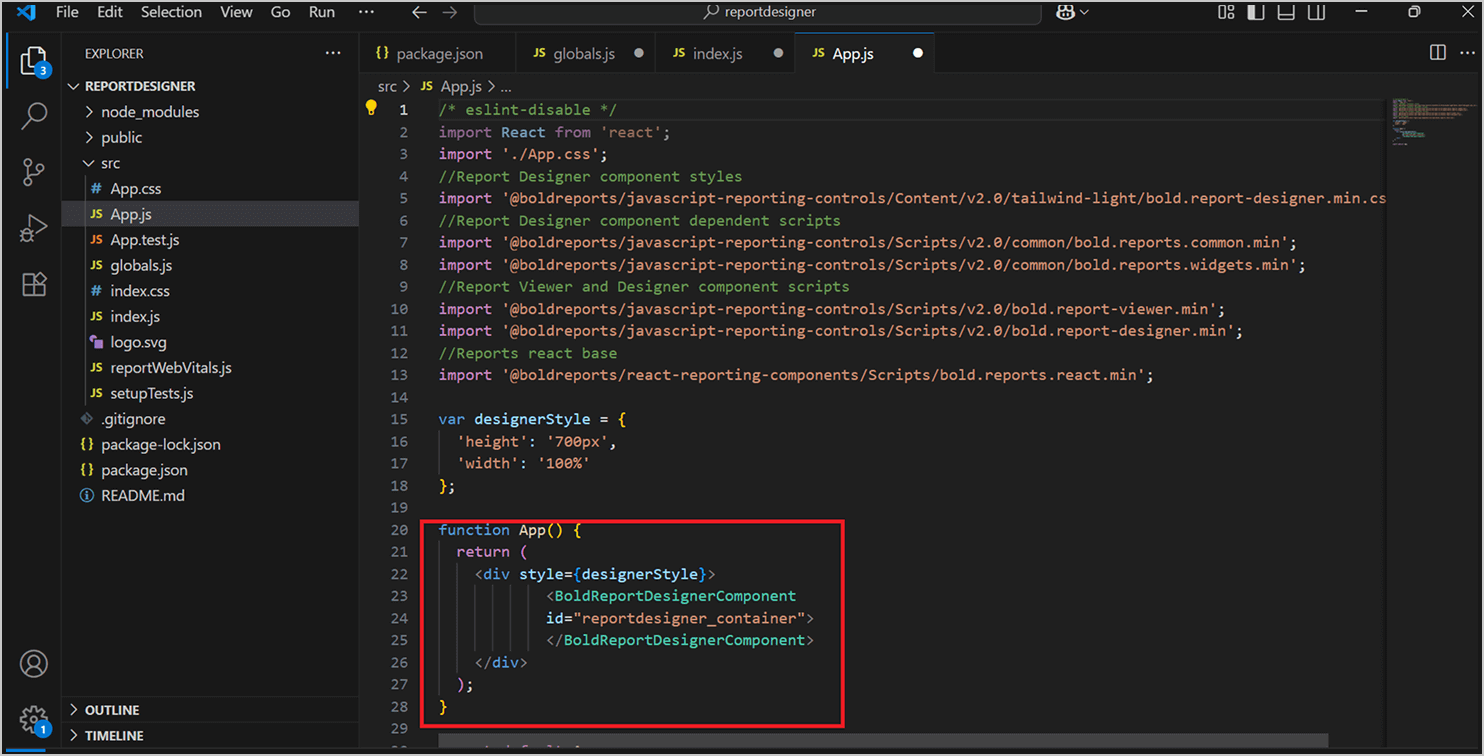
Configure Report Designer component
The highlighted App function in the previous image will return the Report Designer component.
| Name | Purposes |
| bold.report-designer.min.css | Includes the UI theme to render the JavaScript Report Designer widget. |
| bold.reports.common.min | Common script for reporting widgets. |
| bold.reports.widgets.min | Supports Syncfusion widgets to render in HTML5 format and contains the dependent Syncfusion controls that are common for the Report Designer and Report Viewer. |
| bold.report-designer.min | Renders the Report Designer control. |
| bold.report-viewer.min | Renders the Report Viewer control. |
Step 7: Create a Web API service
The web Report Designer requires a Web API service to process the data and file actions. You can skip this step and use our online Web API services to create, edit, and browse reports or you must create any one of the following Web API services.
Step 8: Set the Bold Reports web API service URL
Let’s set the web API service URL. This is where the Report Designer is processed and rendered in the browser using the web API service. The service URL property specifies the report web API service URL.
To render the Report Designer, set the service URL properties of the Report Designer web API as shown in the following snippet.
/* eslint-disable */
import React from 'react';
import './App.css';
//Report Designer component styles
import '@boldreports/javascript-reporting-controls/Content/v2.0/tailwind-light/bold.report-designer.min.css';
//Report Designer component dependent scripts
import '@boldreports/javascript-reporting-controls/Scripts/v2.0/common/bold.reports.common.min';
import '@boldreports/javascript-reporting-controls/Scripts/v2.0/common/bold.reports.widgets.min';
//Report Viewer and Designer component scripts
import '@boldreports/javascript-reporting-controls/Scripts/v2.0/bold.report-viewer.min';
import '@boldreports/javascript-reporting-controls/Scripts/v2.0/bold.report-designer.min';
//Reports react base
import '@boldreports/react-reporting-components/Scripts/bold.reports.react.min';

var designerStyle = {
'height': '700px',
'width': '100%'
};

function App() {
return (
<div style={designerStyle} className="App">
<BoldReportDesignerComponent
id="reportdesigner_container"
serviceUrl={'https://demos.boldreports.com/services/api/ReportingAPI'}>
</BoldReportDesignerComponent>
</div>
);
}
export default App;
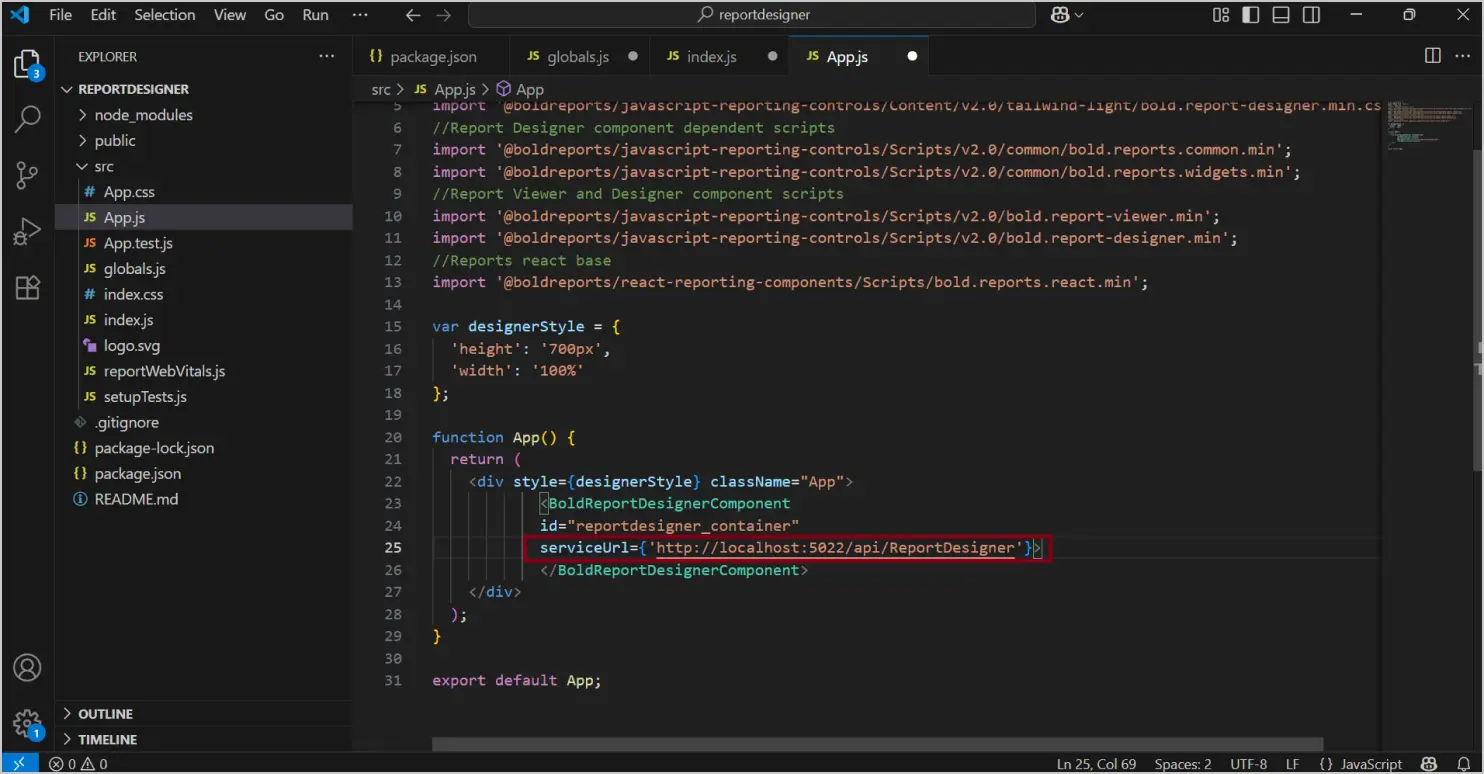
Set Web API service URL
In this blog, we used our Bold Reports demo web API service link to render the Report Designer. You can use your own web API service.
Step 9: Run the React application
Now, let’s run the application. Open the Command Prompt and run the following command.
npm run start
It will launch the application in the default browser at the following URL: http://localhost:3000/. The npm run start command automatically opens your browser.
The Report Designer is loaded in the browser, as shown in the following image. You can start to create stunning professional reports in the Report Designer.
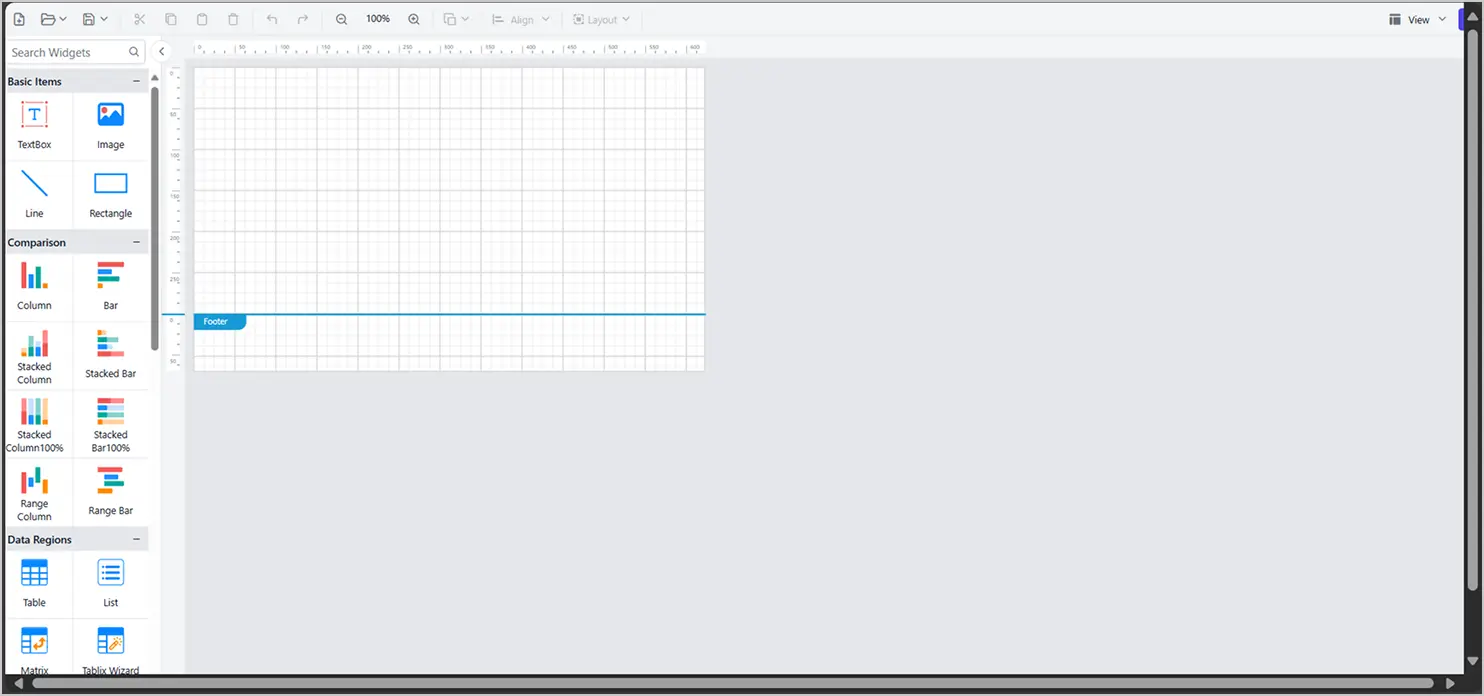
Report Designer in React application
Saving reports
The report definition file will be downloaded automatically when you click the save icon and then the Save option.
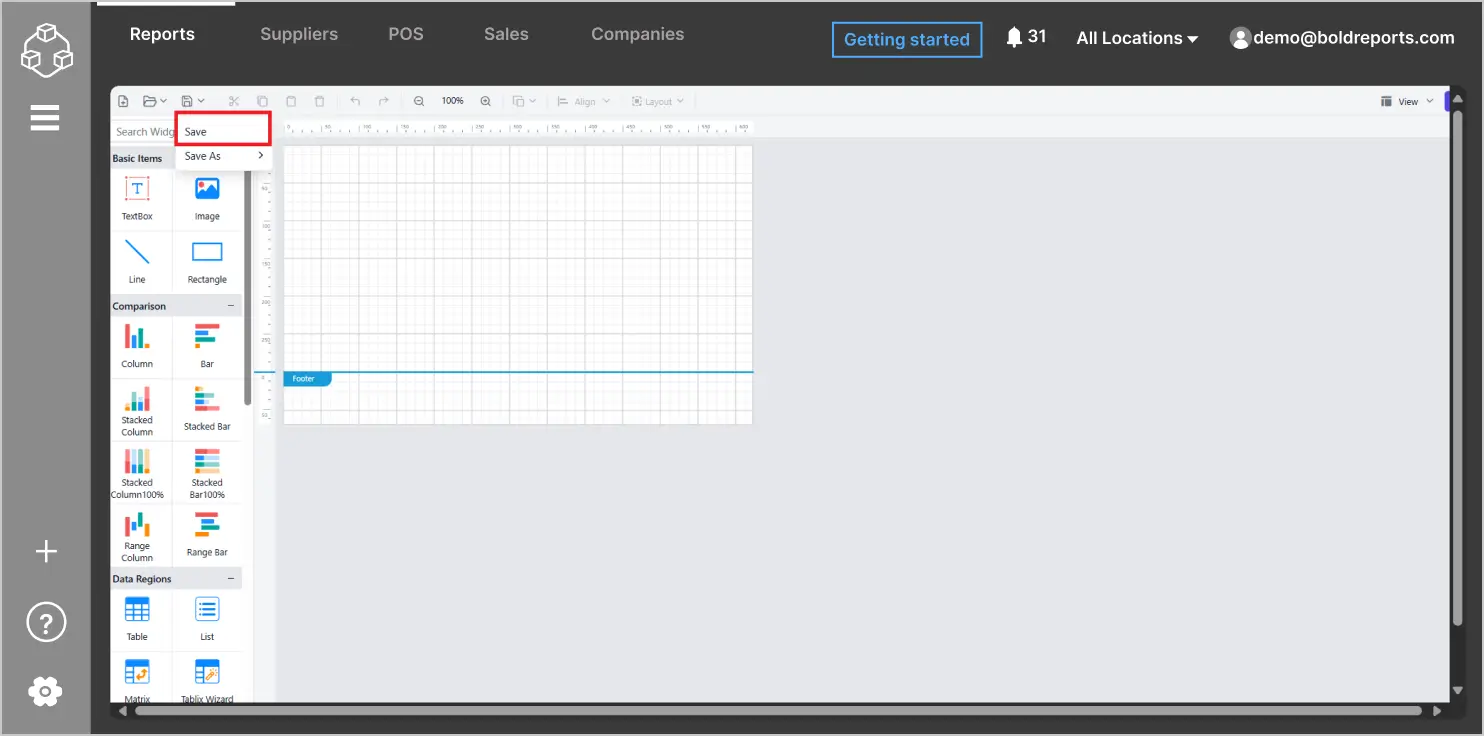
Report Designer save option
Conclusion
In this blog, we showed how to add the Bold Report® Designer to a React application. By following these steps, you can seamlessly integrate a robust Report Designer that allows users to create, customize, and share reports without leaving the React environment.
To explore further, you can go through our sample reports and Bold Reports documentation.
Ready to get started? Sign up for a free 30-day trial and explore the full potential of the Bold Reports’ Designer in your React projects.


