

Attributes in reporting software are like secret ingredients that can take your data analysis to the next level. Imagine you’re baking a cake, and you have the option to add your own special flavors, colors, and textures. Custom attributes work the same way in Bold Reports, allowing you to add unique details and characteristics to your data. In this blog, we’ll explore how custom attributes can enhance your reporting game, giving your insights a deeper flavor tailored to your specific needs. Whether you’re a data enthusiast or a business professional, understanding the power of custom attributes can be a significant change in your reporting journey.
What are custom attributes?
Custom attributes refer to additional characteristics or properties assigned to users within a software system. These attributes are not predefined by the software itself but can be created by administrators to provide additional information or categorization for data to users. Custom attributes allow for greater flexibility and specificity in organizing, sorting, and analyzing data, making it easier to tailor data management and reporting to specific needs and requirements.
Custom attribute hierarchy
Custom attributes can be defined in three levels:
User level
Group level
Site level
The user-level attribute has higher priority than the other levels. The group- and site-level attributes can be overridden at the user level. Also, the site-level attribute can be overridden by the group-level attribute.
User-level attributes
These attributes can be set by the site admin for a user in the user management profile page. You can view the attributes inherited from the group and site levels in the user attribute listing.

Group-level attributes
These attributes can be set by the site admin for a group in the group profile page. You can view the attributes inherited from the site level in the group attribute listing.

Site-level attributes
These attributes can be set by the UMS (user management system) admin for a site on the site details page.

How to use custom attributes
To use custom attributes, we need to define the customer attributes in the server, which can be used with reports and data sets. In this blog, I will be using the Territory Sales Report for demonstration. Currently, the Territory Sales Report displays sales details for all countries. We are going to change this report to display for users based on the country they are in.
First, to add the country details to a user profile in the Report Server, we are going to add the new attribute country. To do this, navigate to the user management profile page and click the Attributes tab.

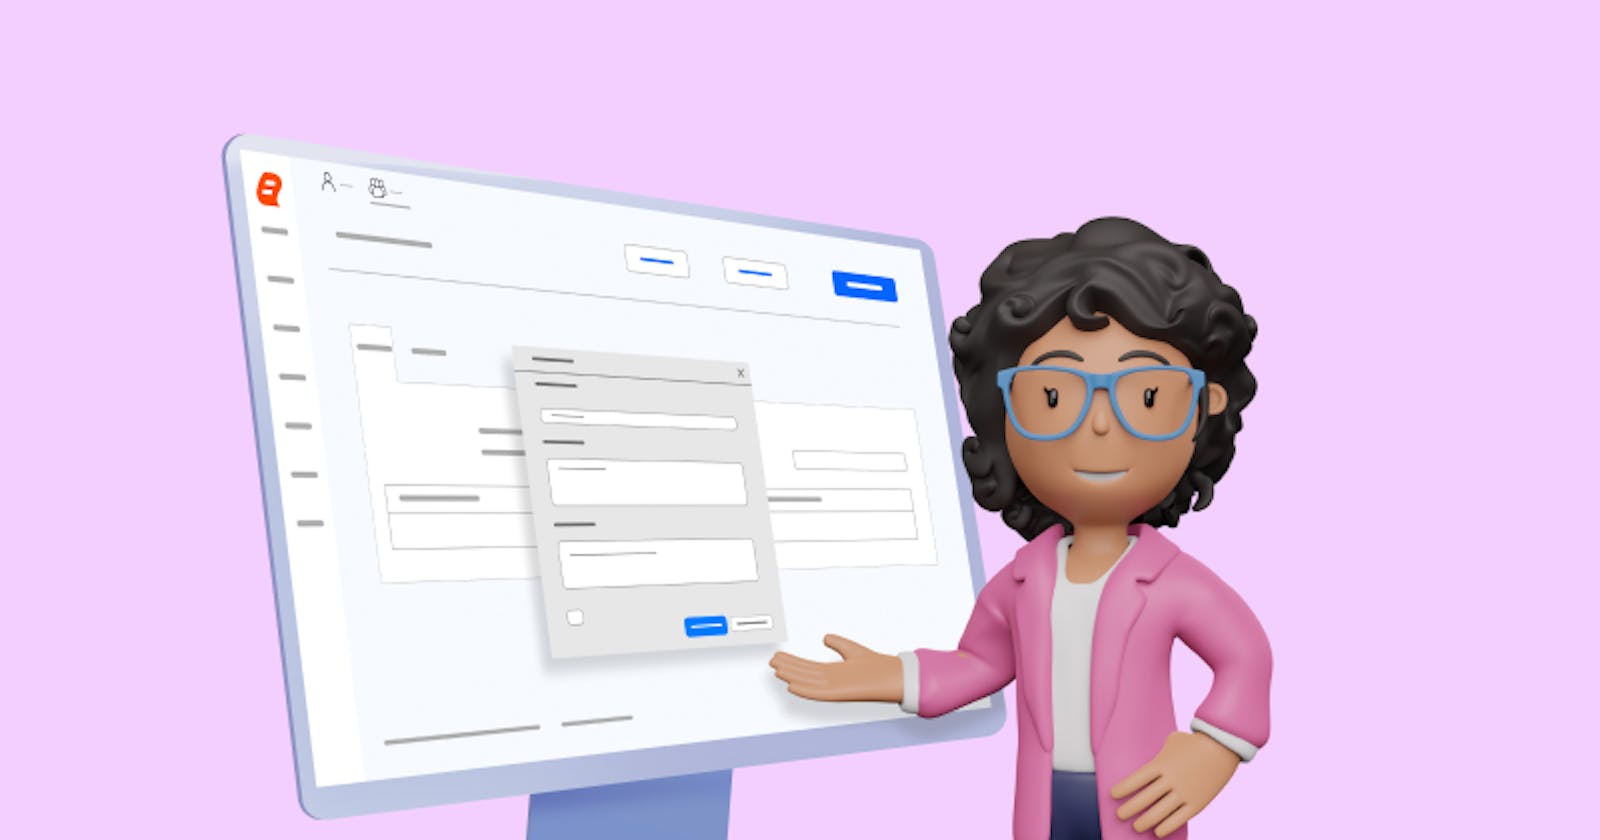
Click Add Attribute. A dialog box like in the following image will appear. Add a new attribute called Territory. Provide the value Canada for this example user. Then, click Save to add the attribute.

Name: Enter the name of the attribute.
Value: Specify the value of the attribute.
Description: Provide an explanation for the purpose for this attribute.
Encrypt: Choose whether to store the attribute as encrypted data in the database. If selected, the value will be displayed as dots in the grid.

Next, apply the attribute to the Territory Sales Report.
Customer attributes can be used with queries and when creating connections. For the Territory Sales Report, we are going to use ours with a data set query where data will be retrieved for the report based on the value of the attribute in the execution.
To apply this attribute, navigate to the Designer page. Go to the DATASET panel and click the editing context menu of the selected data to edit the data set.

This action will redirect you to the query design pane page. Here, apply the custom attribute using the appropriate syntax ${{:CustomAttrtributeName}} as in the following image. Then, run the query, and it will retrieve only the details of Canada. Finally, click Finish and publish the report. Click Preview to see the results.

Now, the report will display sales details for Canada only, as shown in the following image.

Conclusion
In conclusion, custom attributes in the Report Designer are indispensable tools for creating dynamic and personalized reports that respond intelligently to data and user input. Their ability to manipulate data, enhance interactivity, and tailor user experiences makes them an asset in the ever-evolving landscape of enterprise reporting. By understanding their hierarchy and configuring them effectively, organizations can unlock the full potential of custom attributes to provide meaningful insights and drive informed decision-making, improving the reporting experience for users and stakeholders.
If you have any questions, please post them in the comments section. You can also contact us through our contact page, or if you already have an account, you can log in to submit your support question.
Bold Reports offers a 15-day free trial with no credit card information required. We welcome you to start a free trial and experience Bold Reports. Be sure to let us know what you think!
Stay tuned for announcements about new releases by following us on our Twitter, Facebook, and LinkedIn pages.